Install Scanner in OnStar Location
Posted: Sun Jan 15, 2012 9:29 pm
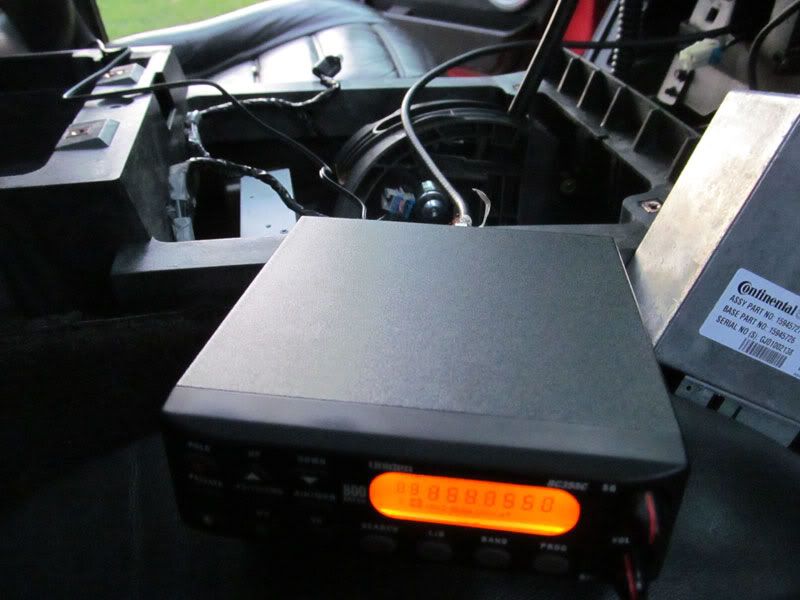
OK guys, I have completed the installation of my new Police Scanner. It is a Uniden Bearcat 355c scanner, and it was chosen because of it's small size to fit its intended location.
I do not use my OnStar, and could never see me doing so, so figured I would make use of the space. For the antenna I installed a splitter behind the factory radio. This way the scanner will share the existing factory installed antenna and not require one of its own. You can buy these on the internet for $15-$30 (plus shipping) but I put together my own. I used a High Performance 5-2050Mhz splitter ($2.99 Princess auto) and standard cable F-connectors I figure the splitter cost me no more then $6. It works great, there is no sign what so ever of signal loss on either the Scanner or Radio. The pictures before, during, and after, show the proceedure.

Un-boxing of Scanner ^
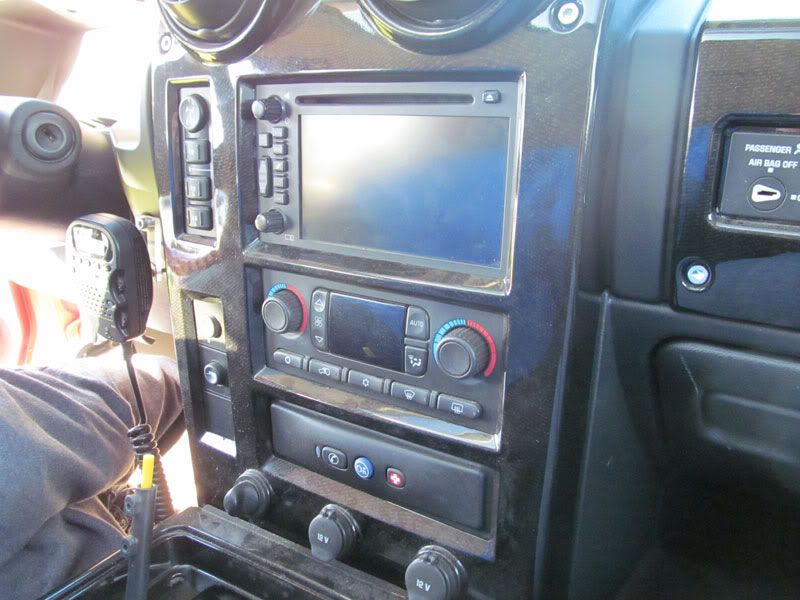
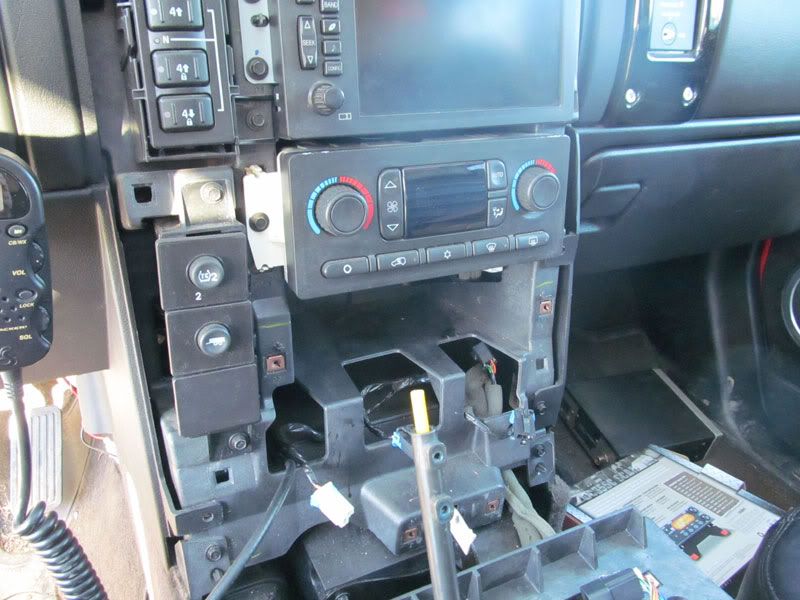
Dash before starting ^
Dash without covering ^

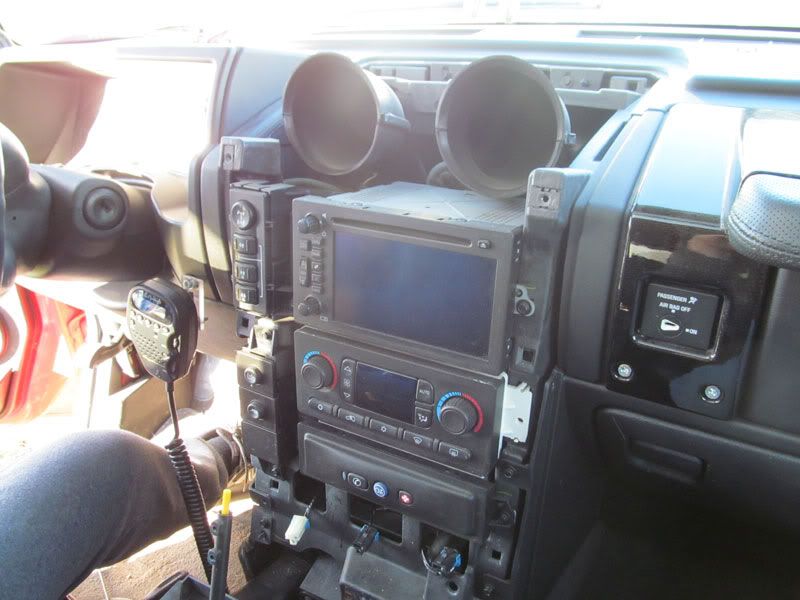
Radio Removal, for antenna splitter installation ^
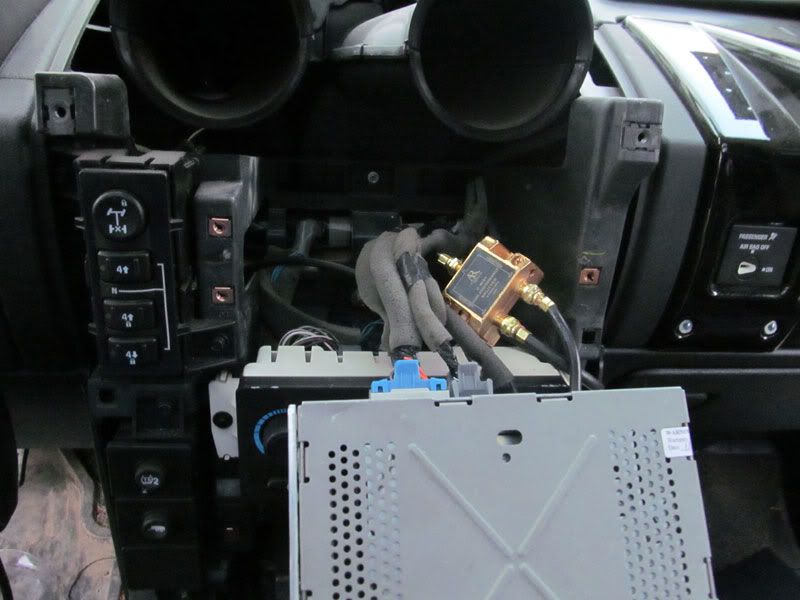
Antenna splitter installed ^
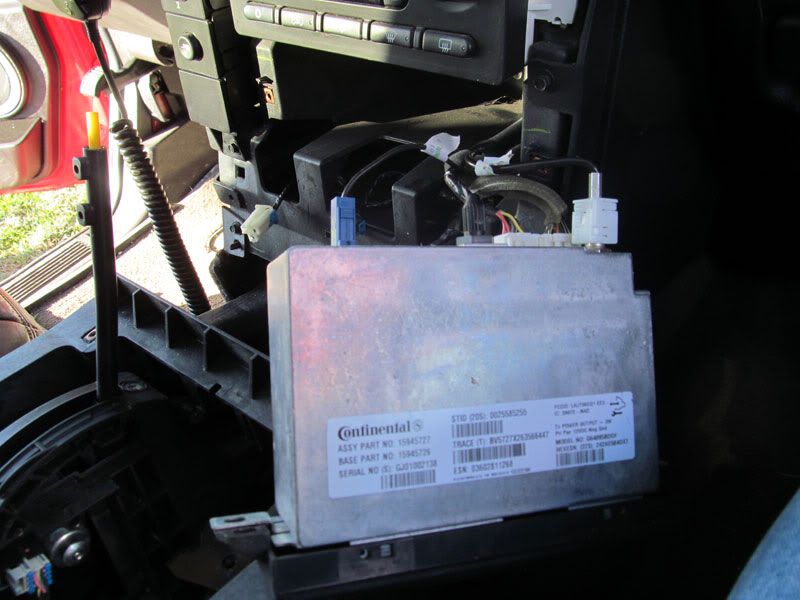
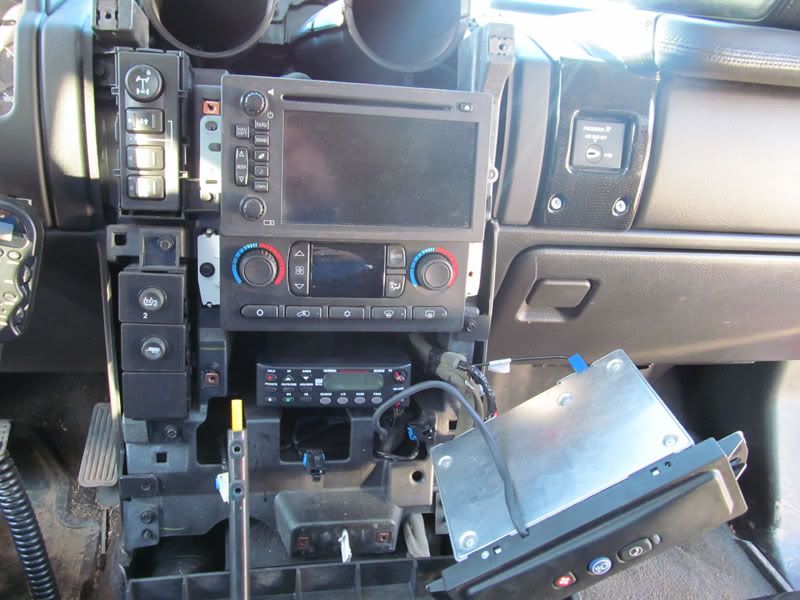
OnStar Module removed ^
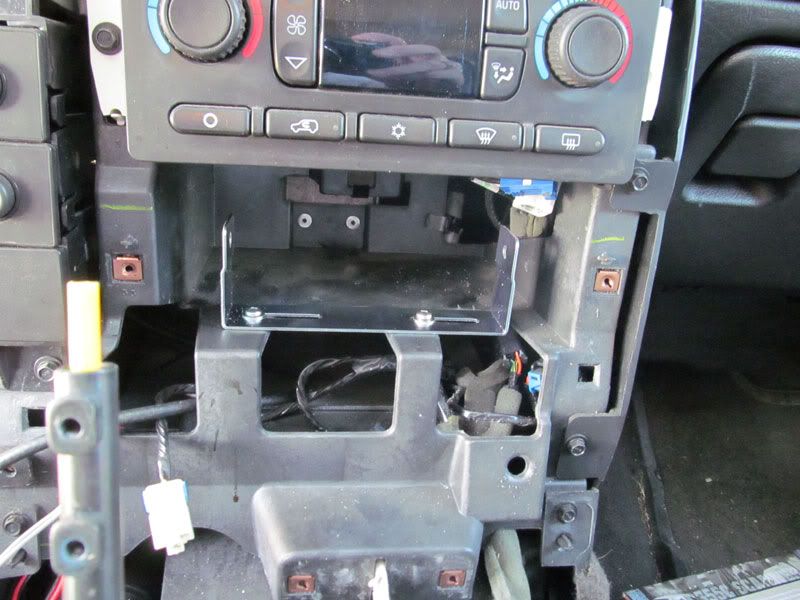
Open space for Scanner ^ (there is NOT a lot of depth here)
Test fit the scanner ^
Testing the power and antenna connections ^

Test fit with all electrical (power, antenna, and external speaker) connectors on the back ^
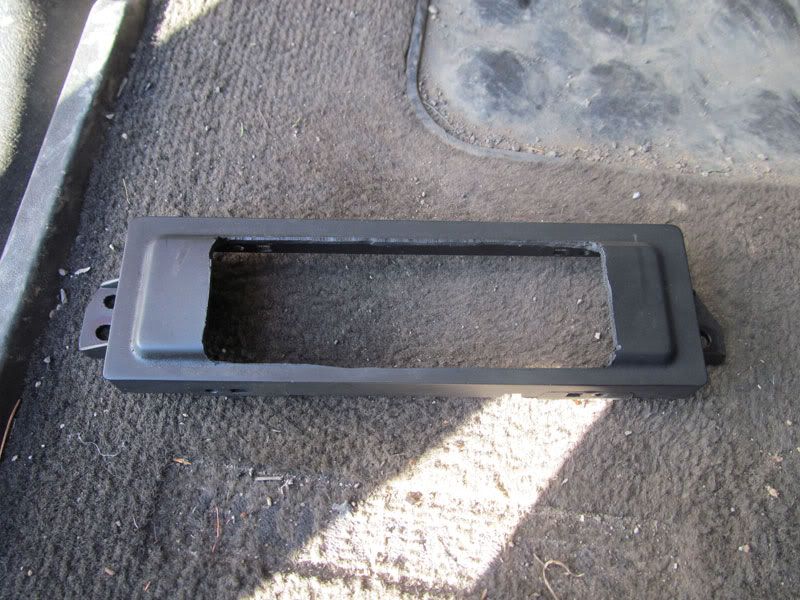
The heavily modified OnStar faceplate ^
Scanner bracket mounted ^
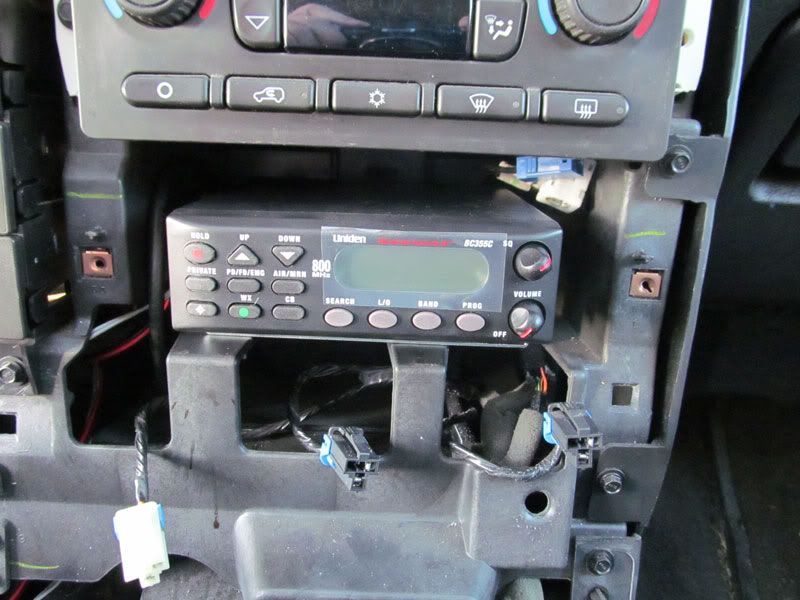
Scanner mounted in bracket ^
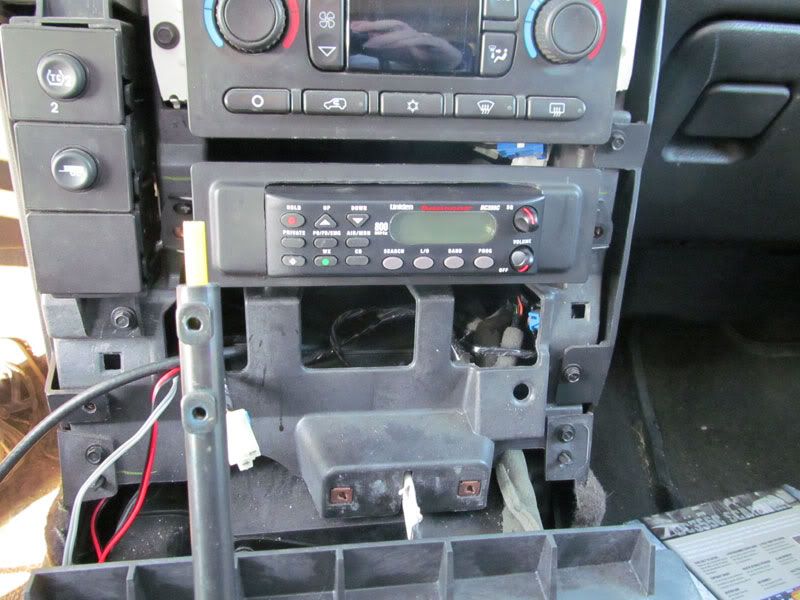
Modified OnStar faceplate installed ^
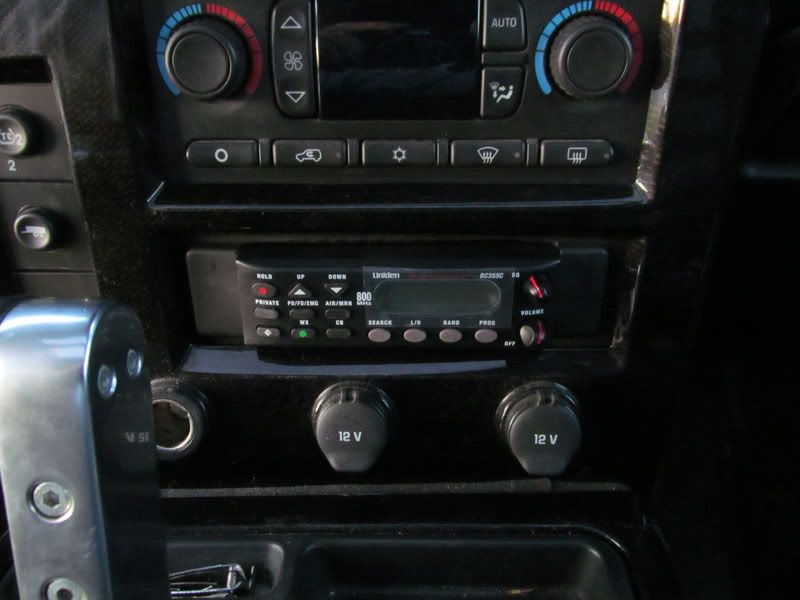
Completed installation ^
I do not use my OnStar, and could never see me doing so, so figured I would make use of the space. For the antenna I installed a splitter behind the factory radio. This way the scanner will share the existing factory installed antenna and not require one of its own. You can buy these on the internet for $15-$30 (plus shipping) but I put together my own. I used a High Performance 5-2050Mhz splitter ($2.99 Princess auto) and standard cable F-connectors I figure the splitter cost me no more then $6. It works great, there is no sign what so ever of signal loss on either the Scanner or Radio. The pictures before, during, and after, show the proceedure.
Un-boxing of Scanner ^
Dash before starting ^
Dash without covering ^
Radio Removal, for antenna splitter installation ^
Antenna splitter installed ^
OnStar Module removed ^
Open space for Scanner ^ (there is NOT a lot of depth here)
Test fit the scanner ^
Testing the power and antenna connections ^
Test fit with all electrical (power, antenna, and external speaker) connectors on the back ^
The heavily modified OnStar faceplate ^
Scanner bracket mounted ^
Scanner mounted in bracket ^
Modified OnStar faceplate installed ^
Completed installation ^
 That looks slick!